Monday, April 30

But We Do So Much in Kindergarten!

Greetings Friends,

Today I am going to talk about some more fun things we are doing in kindergarten!  This week will mark my second full week teaching and I'm pretty excited about it!  We have a light week at Hemlock Creek---we have a field trip Thursday to Mulberry Farm and a half day Friday! 

Here are some (more) things we did this week:

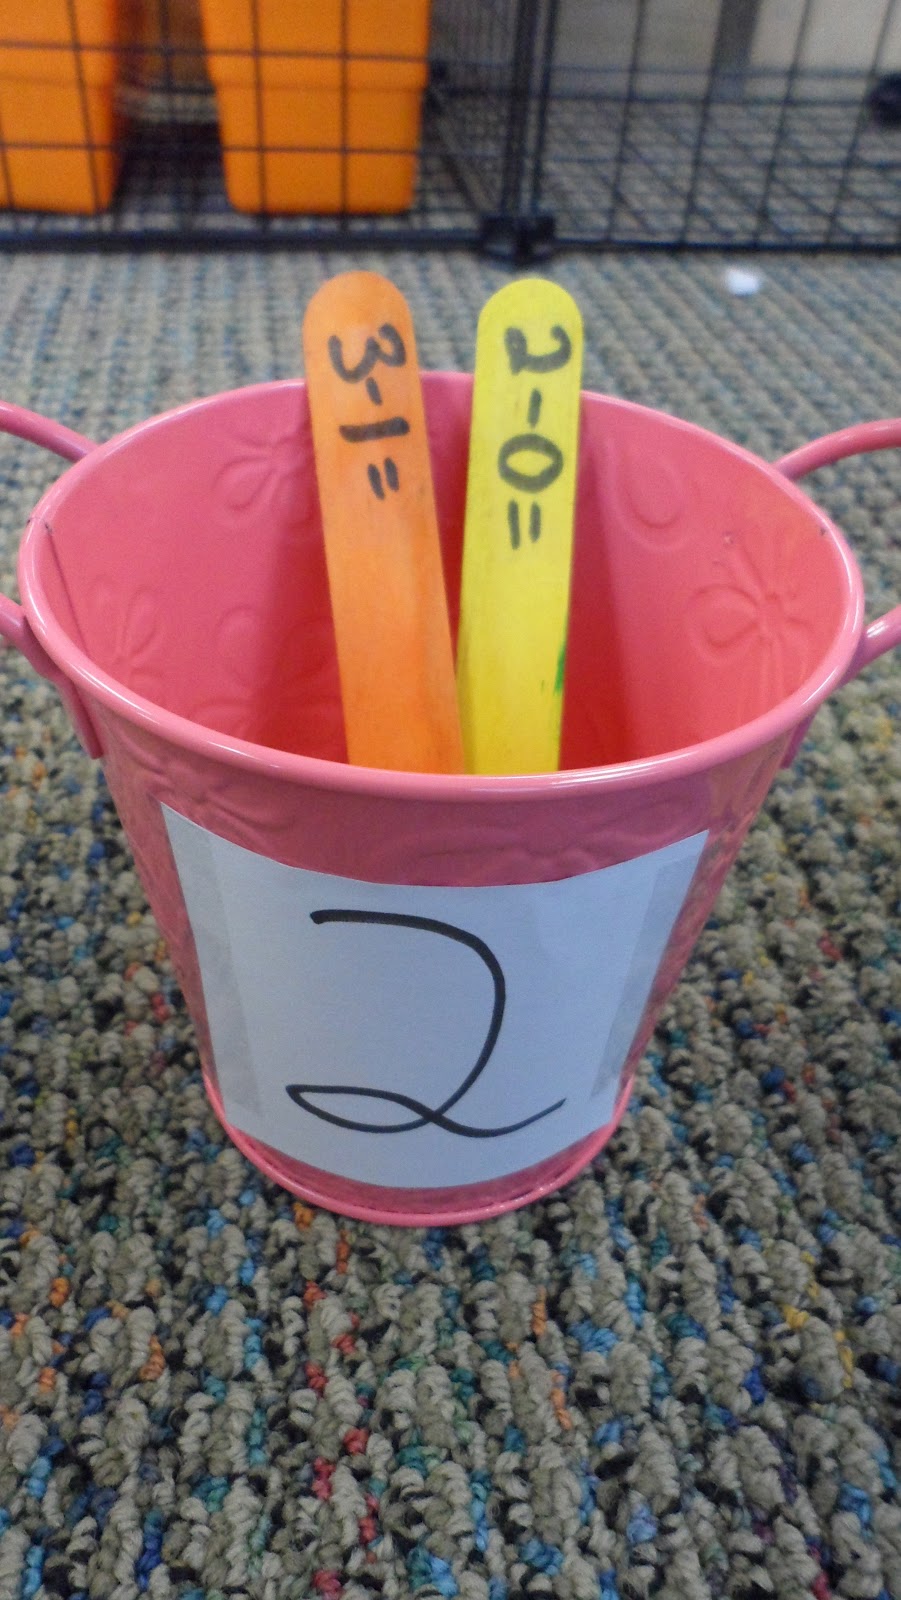
In math I worked with the students on number collections.  (Remember the pair of boobs that one of the students made?) Here again we worked with different number collections.  I had the students use pipe cleaners and beads to make a "math counter."  (We cannot say bracelet because that would indicate it was a gendered project--even though I could care less if you are a man that wears a bracelet! I didn't want to get into that discussion.


Then I read the book "Math Fables" to the students.  They had to figure out how many beads they needed to complete the collection.  Below is an example of a collection of ten: 4 and 6. 


Here's another one with the number 4: 1 and 3.  


Also--we worked with butterflies.  We talked about the life cycle of a butterfly.  Right now we have real caterpillars in the classroom.  Eek!


This is probably my most original idea I have had this entire time.  The original idea came from Jennifer's mom, Marie.  She suggested for me to collect egg cartons to make caterpillars.  I came up with the idea to do a cocoon and to make wings on them!

First we painted egg cartons.  Here's mine.  Pretty bad-a.


Then we wrapped them into cocoons and hung them up in the classroom.


Then we decorated wings.  We talked about symmetry and how one side of the wing looks the exact same on the other side.   Originally, I had a stencil for them to cut out, but I kept on making the wings look lop sided.  Instead, I found the clip on line and enlarged it in Microsoft Word.  It worked quite nicely.  I love being able to print from a computer:)


After the students were done decorating the wings, we took the caterpillar out of the cocoon and added the wings! 


 Aren't they cute!?!


To summarize up the caterpillar unit, I had them create the entire life cycle of a butterfly.  Using an idea from Pinterest, I had the students use egg noodles to identify the life cycle stages.  


If you ever choose to do this activity, I would have the words pre-typed up so the students could cute and paste them in the correct spots.  I would also have the cycle go in a circle.  I had them go line by line (just like they did on Pinterest).  However, I think having the stages in a circle would really show the students that it is indeed a cycle. 


 Finally, Lynn (Noelle's old Co-op) put up the bulletin board for the hands from Earth Week!


I die-cutted the letters for Lynn: I don't care of the font Hemlock Creek has.


A closer look!


I have so much more coming up!!!  We have an exciting week ahead in Kindergarten!!!! 

<3

Em

Thursday, April 26

Earth Week in Kindergarten!

Hey Everybody!!!

I mentioned last week that everybody was going to be jealous of my awesome Science/Math units...and I was right!  Now off to brag about the fun we had in class this past week!

First off...Science/Social Studies...

First we sorted trash.  I made the classroom into a mess!  Then I had the students go look around and pick things up and recycle them!  Here are some of my recycle bins I used!


Next, we read "The Lorax" and talked about needs/wants.  Then we made "Lorax" stories.  I made this bad-ass mustache and the kids took a picture with it.  Then we wrote how we can take care of the earth.  After all...you cannot buy another one at Wal-Mart! (Thank you Mrs. N for the suggestion!)


 Finally, we talked about reusing things! I had the kids save their milk jugs.  They were so curious to WHY we were going to save them...and what the heck we could do with them!  Well, we made bird feeders!


 I had no problem getting the kids to make the box...the difficult part was stringing the yarn through the holes! I had to help them, so did Pam.  It was worth it though.  The kids loved it!  After they got bird seed, they could decorate it.  To make sure they were safe, we put them in plastic bags for protection!

 Then there's math....here is my first SMART board activity!  I am so proud! I stole it from Katie H's presentation! (Hey...Dr. Kirst told us to!)


For those who are not familiar with a SMART board, this thing is awesome!  I made it that you can drag all the coins on the left into the piggy bank.   This way the kids can literally touch the board and drag things over to make the correct amount.  They loved it! 

Then we sang money songs.   (Thank you Noelle for the idea!) I made them do hand motions to help get engaged in the music.  They loved it!  We practiced them for two days and wow do they pick things up fast!

Then I made my first bulletin board... it's interactive...and great to practice subtraction!


The kids take the little fish from the bag and match it up to the big fish on the board.  I think they are going to love this activity because it is different.  


Mom bought me these fish at Hobby Lobby.  I'm normally not into using pre-die cut things, but I figured I would give it a try! I also used the Circut Cartridge "Life's a Beach" for extra fish!


Also... we did math art.  This was to teach place value and symbols.  For example, if you have four cotton balls and three craft sticks, you have the number 43.  

They did an awesome job... 

but... this one takes the cake... 


That's all I have!!!

<3
Em


Monday, April 23

Recent Cards Using Alcohol Inks and Tim Holtz Products!

Hello Everybody!

Last weekend Meredith and I went to Creations Galore and did some card making.  Here are a few cards I created!

First and foremost...I made my mother a Mother's Day Card.

All right, so I apparently screwed up getting her b-day gift.  I wanted to be creative and get her something she would not expect... apparently she was really looking forward to her Target gift card and flipped out when her b-day gift was a Hobby Lobby card.  Originally I was going to make a Target card, but I decided since she wasn't going to be surprised with her gift...I was going to make a killer card.  Here it is!

 
 I used her favorite color...black.  (Yes I know.) I took alcohol inks and did some dying to lighten up the card.  


 This is what I wrote inside.  Don't tell her I wrote this. She'll freak.  I stamped the "i love you" with individual letters. 

Next is a sympathy card... 


Everybody knows who this card is for... if you don't...well... look at the colors of the card... duh!

My butterfly is raised.  I used dots to make the butterfly raised.  I also used alcohol inks again.  This time I used cool colors to give a berry effect.  I didn't dab this time; I just rubbed it onto the smooth glossy paper.  Then I embossed with dark purple with my favorite super large flower stamp.  The picture doesn't do the card justice...but it is amazing.  I was pretty shocked with the outcome.

The next two are a series.  I used a pineapple stamp as my inspiration! I have no idea where I am going to use these cards...but I'm sure I'll figure it out! 


This one might be a "pick me up" card.


This one is a "Thank You" Card.


This is yet another alcohol ink with an embossed image on it.  Originally I put the martini on the page with a bright pink.  It didn't show up too well so I decided to trace it.  Then I got the idea to emboss it with gold.  It has a southern feel to it.  I love it!

For the alcohol technique, I put the ink on the page (instead of the ink applicator.)  This left some interesting patterns.  You can see some circles on the page as well as some blending.  I love the effect it gives...kinda like a watercolor feel.

This is a "just because" card.  It was towards the end of the night I was just running out of ideas...


 This card is a sympathy card.  There seems to be a lot of those going on in my life.  This one was intended to be given during the spring. 


 Nothing too special about this card.  I dry embossed the "With Love"with the cuttelbug.  Meredith insisted I had to color the words...but I really don't like how I did it.  I wish I did the swirl and the with in the color purple and the love in the color pink.  After all, love is the word that stands out.  

I also embossed with a dark purple.  I love the effect, but I don't like where I placed the butterfly. 

Then there's this card...one that I made today....

Afterwards I decided to purchase distress inks and Perfect Pearls.  Both are Tim Holtz creations.  Perfect Pearls is a micropowder that makes things shimmer.  Distress inks help distress (or age) the paper.  I have been watching videos and experimenting some new ways to incorporate them into my card.  

This is what I did... 

First I embossed with a cream piece of paper.  I used the argyle cuttelbug folder.  

Then I gently put distress ink (I used aged paint) on the raised parts of the embossed.  Then I painted perfect pearls purple powder over the distress ink.  


The powder binds with anything wet, so I was able to wipe off the excess stuff. 


Then I dabbed my ink applicator in the green distress ink. 


Then I rubbed the ink on the edges and my craft mat.   I did this several times to layer the colors.  I also used my aged paint (it's a dark orange) as well. 


This is what my piece of paper looked like.  It took about 5 minutes to finish.  It was easy, fun and very cool! 


I did this a few times with different folders, distress inks and Perfect Pearls to make this card.  This is what the final product ended up looking like...


 and inside...


so...thank you Tim Holtz for making my cards look awesome!!!!  I would advise everybody to try this technique.  It was so easy, fun and quick!  Plus, it looks so awesome! It gives the vintage and metal look.  I love it!

That's all for now...

<3

Em

Sunday, April 15

Em Makes More Cards!!!!

Hey Everybody!

I wanted to share with everybody some of the more recent card creations I have been working on!  So many exciting things are coming (such as birthdays, graduation, mother's day, etc) so I decided to make a bunch of cards in advance! I had a card making night a few weeks ago.  Megan and Meredith came over to play.  We had a blast! We all learned new techniques and insights to cardmaking.

Meredith worked on her 12 cards for the March of Dimes.  Megan had some b-day cards.  I was all over the place, I had b-day cards, thank you cards, grad cards and more!  

Here's what I created!

Graduation Cards;

I used the embossing gun to make the Grad show up in glitter:) I love it!  It is SNC themed.  I know that a lot of my SNC girls see my blog so it might not be wise to put the card design up online, but it's all good!  This is only the first wave.  I'll be making a second wave of cards that will look different!

Inside I wrote the truth...

Random Birthday Card:


It was random...but I love it!

Meredith made this card...THIS IS NOT MINE!  This is part of Meredith's collection she will be donating to the March of Dimes silent auction.  She is doing a card for each month of the year.  I think this is either April or May, but I could be wrong.


I loved it so much I had to take a picture of it.  It was just so freaking awesome!  I wish I had this creative ability!


This card is for my mom.  She turns 52 today! (God she's old;)) She loves black and gold so I made her card those colors.  You can't tell, but the front is embossed with gold powder. 


This is what the inside looks like!


This card was for my supervising teacher, Joannie.  It's a spring/school theme!


Then this is a collection of basic Thank You cards that I can use in the future! They are very simple, but I don't care.  It is hard to make elaborate cards anymore.  I like the simple cards too because it conveys the message in a direct way.   I used this flower stamp for my mom's birthday card.  I love this stamp very much.  It was expensive; about 20 bucks, but I use it all of the time!!!! 


I colored this one in with pencils. I gave a similar looking one to Dr. Meidl for writing such a nice letter of rec. to me.


I gave this one to Cheryl for all the help she gave during Holy Week. 


And last but not least... my favorite...

That's right! Megan got me to take the plunge!  I now own alcohol inks!  They are fun to blend and create with.  Megan had a cool technique where she used an iron so the embossed parts could stick out more.  However, I wasn't able to make it work.  So I made the flowers from my Cuttelbug.  Then I took a sponge and dabbed the ink on it.  Then I dabbed that onto my glossy paper.  This was the effect...so freaking cool!!!

These are alcoholic inks by Tim Holtz.  I love them!  I'm slowly becoming a Tim Holtz fan.   I also bought some distress ink from him as well.  I cannot wait to start playing with them:) I currently have 9 colors!!!

Wednesday, April 11

Life in Kindergarten (The Craft Stick Special)

Hello Everybody!

I've been getting asked the question "so when are you going to post some things about teaching again?"  Well, today is your lucky day! I am posting some pictures of my adventures in kindergarten.

I'm slowly getting my kindergarten feet back... at first it was hard.  I forgot how simple things are in kindergarten.  I'm told this is normal.  I agree.  I remember having the opposite problem when I started third grade.

My first subject I picked up was math! EEK!  We are using Everyday Math.  Everybody seems to really detest the program, but it isn't too bad.  I'm trying to be as creative as possible with teaching it, but I'm not reinventing the wheel either.  I want my ideas to be helpful and too the point. I have 45 minutes to teach math, but in reality only 15 minutes of that is direct teaching time.  The first 15 is dedicated to calendar and the last 15 is dedicated to my differentiation students.  

So my first day, we did math bundles. 

 I had a bunch of min craft sticks bundled into 10s.  Then we talked about how the number 1 in the number actually represented 10 and not 1.  We made several numbers up by rolling the die and creating two numbers.   Below is an example.  We rolled a 3 and a 2 and created 32.  We had 3 bundles (30 sticks) and 2 ones.


 Then we represented them with craft sticks.   The kids were understanding what I was looking for... but they needed me to guide them during the time I am supposed to be working with two other students... I felt like crap, but Pam insisted I did a good job.  I just need to be aware of my directions.  All in good time I say.

We are also working on subtraction.  Pam introduced the topic last week, but this week I wanted to reinforce the topic.

I created a sorting game with craft sticks.  It's pretty self-explanatory.  They get a stick and then put it in the correct bucket.

 They loved this game! I had the buckets go from 0-9 but for all intensive purposes, I didn't put those out when I took the picture.  This game was easy to make!  We worked with the Unix Cubes so there was a visual connection for those who needed it as well.  I am excited because I am able to use this game next week when we have a game day in math class! 

 Then during the independent work time, the students had to color in the correct flower on their subtraction worksheet.  I know what you are probably thinking...worksheets are evil.  Not always.  This one is based off another one they had to do last week.  They liked their worksheet last week because it was coloring! They LOVE to color...why not embrace that?


I also created a bulletin board.  This was for the Spring board outside of the classroom.  I love boards... I will be adding more to this one as projects come up! Several of the other kindergarten teachers gave me such lovely compliments on it.  Note....I didn't create the flowers...just designed the board!

I am going to start BRAIN BREAKS!!!  They are these 3 minute activities that get the juices flowing in the head... a great way to start any lesson!  Since my handwriting usually stinks, I decided to print up the font instead.  I say they look awesome! They sit on my desk...waiting to be used! (I'm waiting to be a little more FT first)

 Don't they look AWESOME in my green bucket? (Recognize it from another lesson...?)
 And finally... a look at my desk...I need to update the photo I have of Pickles.  I have such cuter pictures of him somewhere... or maybe a good picture of friends should be in place? My desk is very small so I needed to bring in one of those 3 container things.  Now I have all the binders and books there.  The flowers are hung up and the boarders are put away as well.  So now... my desk is empty!
 And last but not least... student artwork! My kiddos are AWESOME!!!

So as you can see...I'm having a ball!  More to come soon!

Hugs!

<3

Em!